Add or Edit Project Roles
This how-to guide explains how to create new Project Roles or modify existing ones. Roles help you customize permissions across multiple projects and standardize how your team interacts with project content.
When to Add or Edit Project Roles
You should add or edit Project Roles when:
- You want to create custom roles for different teams (e.g., legal reviewers or analysts).
- You need to update descriptions or permissions for existing roles.
- You want to scale consistent permissions across projects.
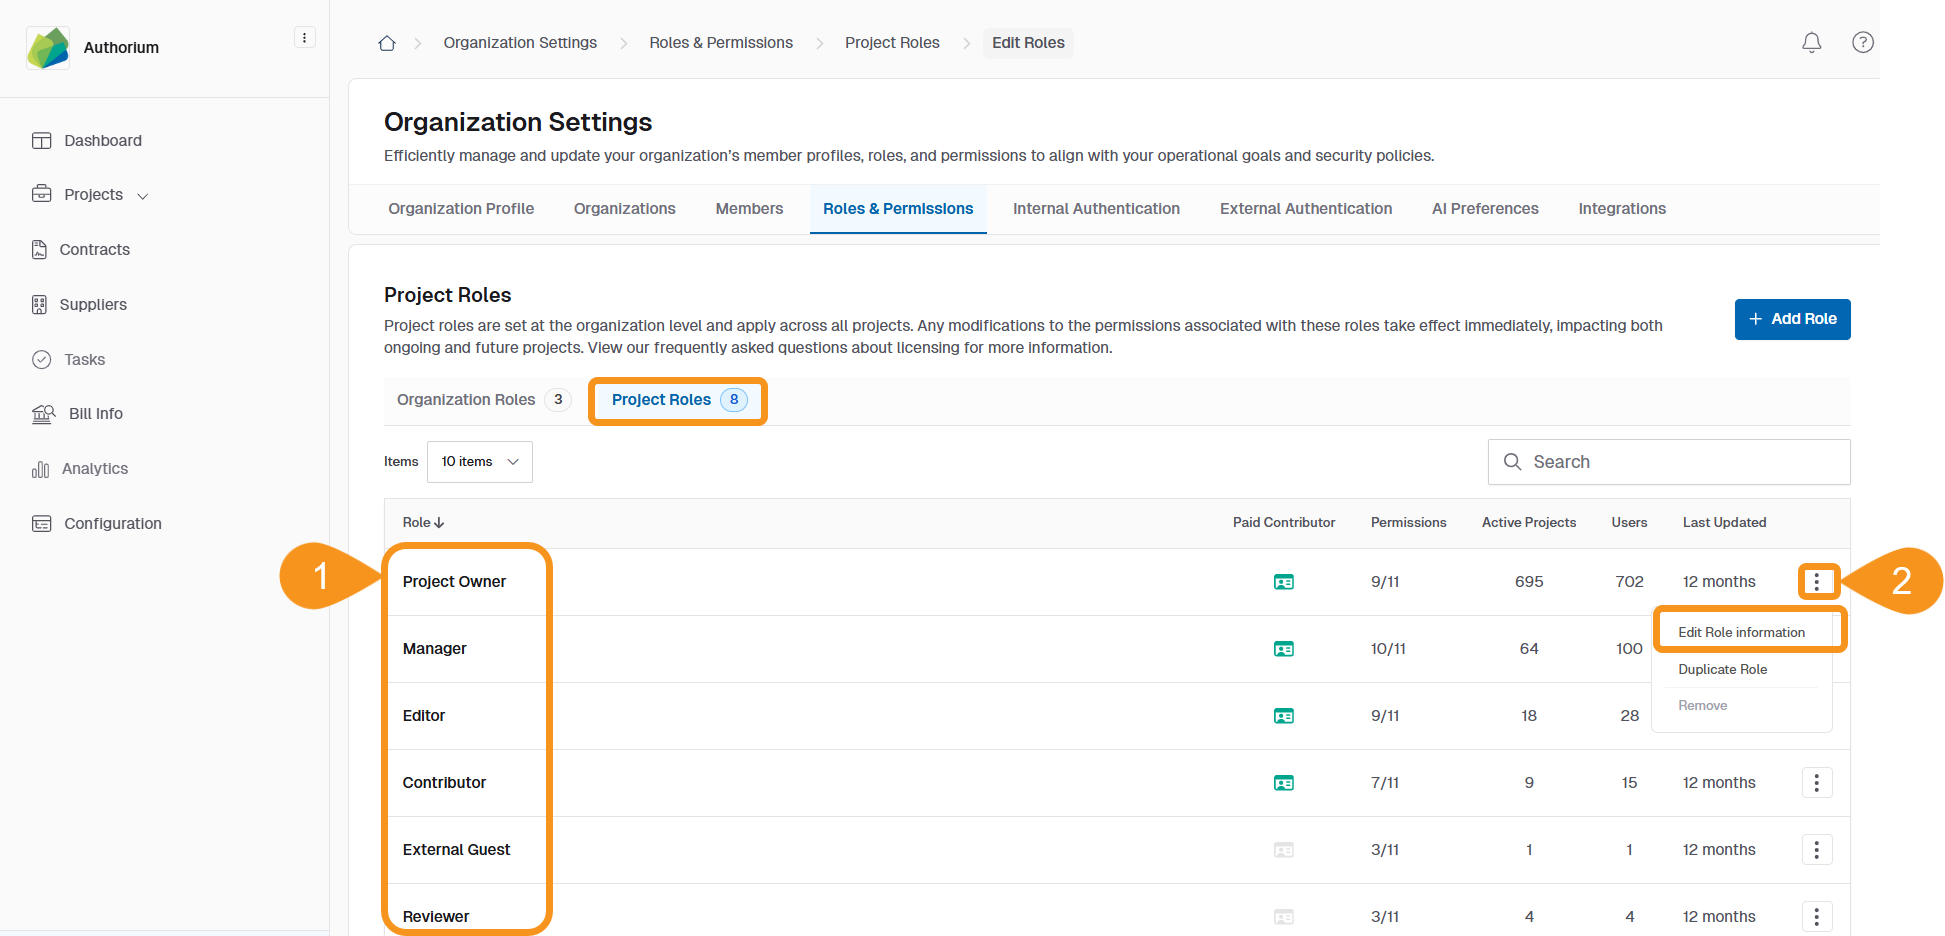
To Add a New Project Role
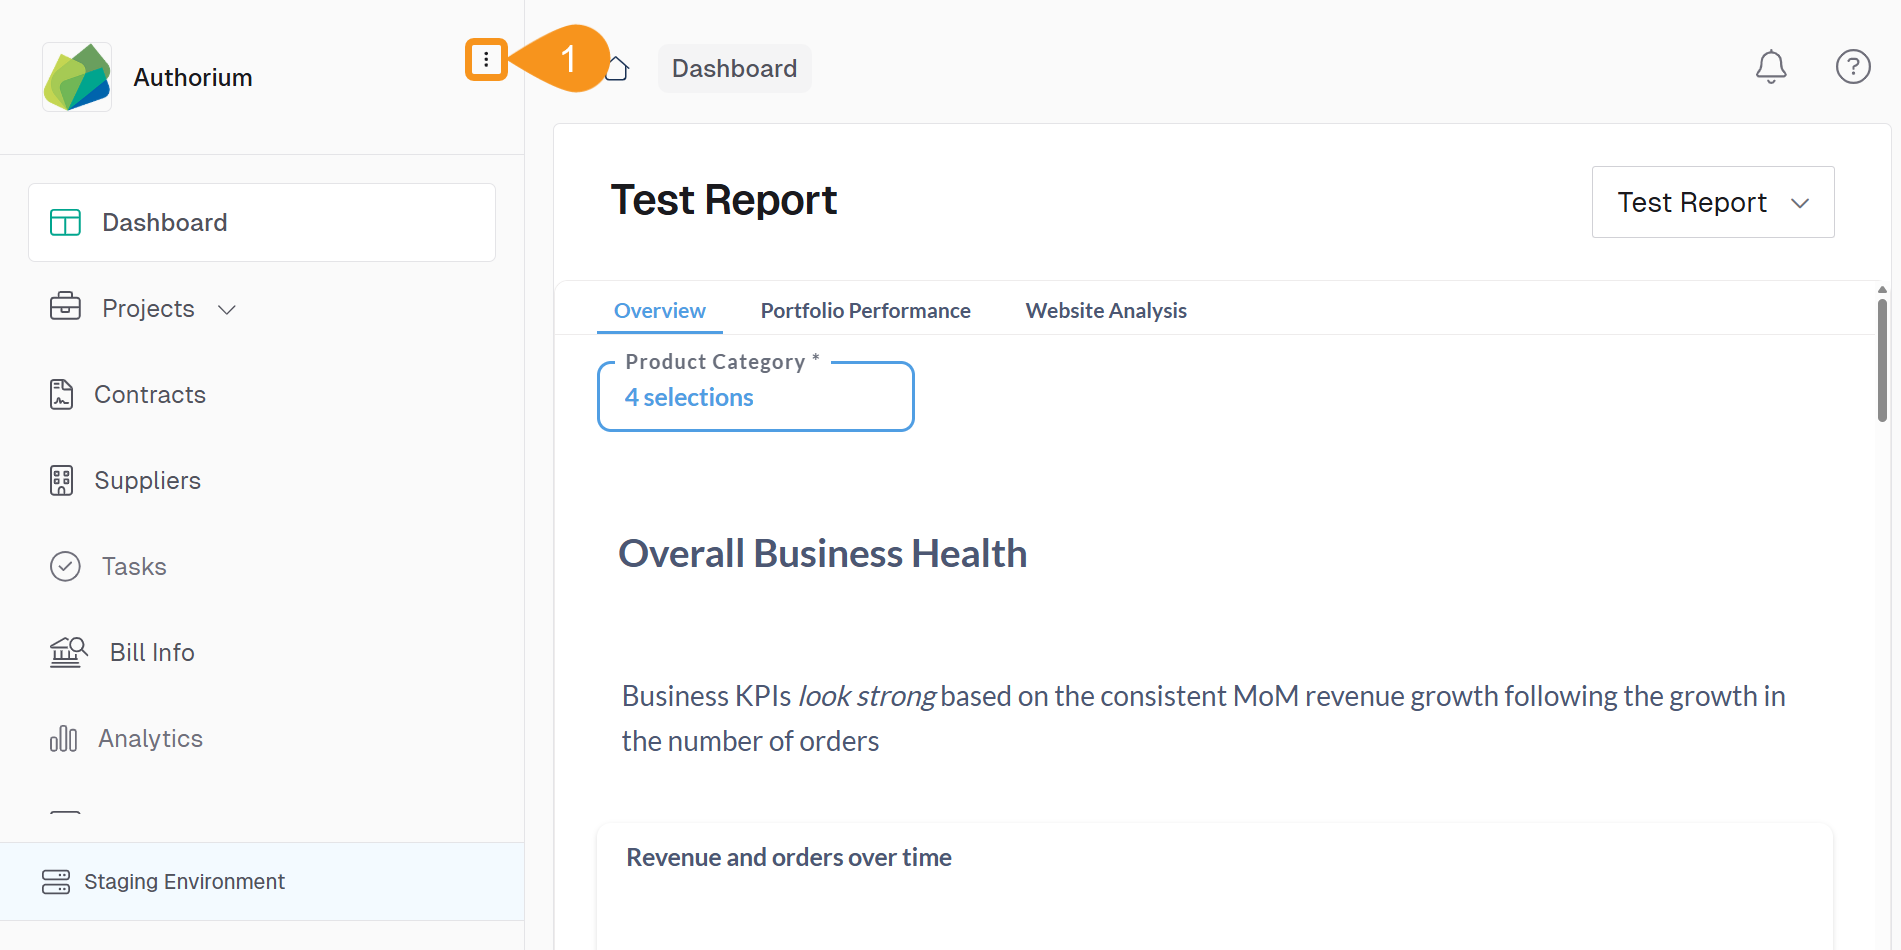
- In the main navigation bar, click the three-dot menu next to your organization’s logo.
- Select Roles & Permissions.
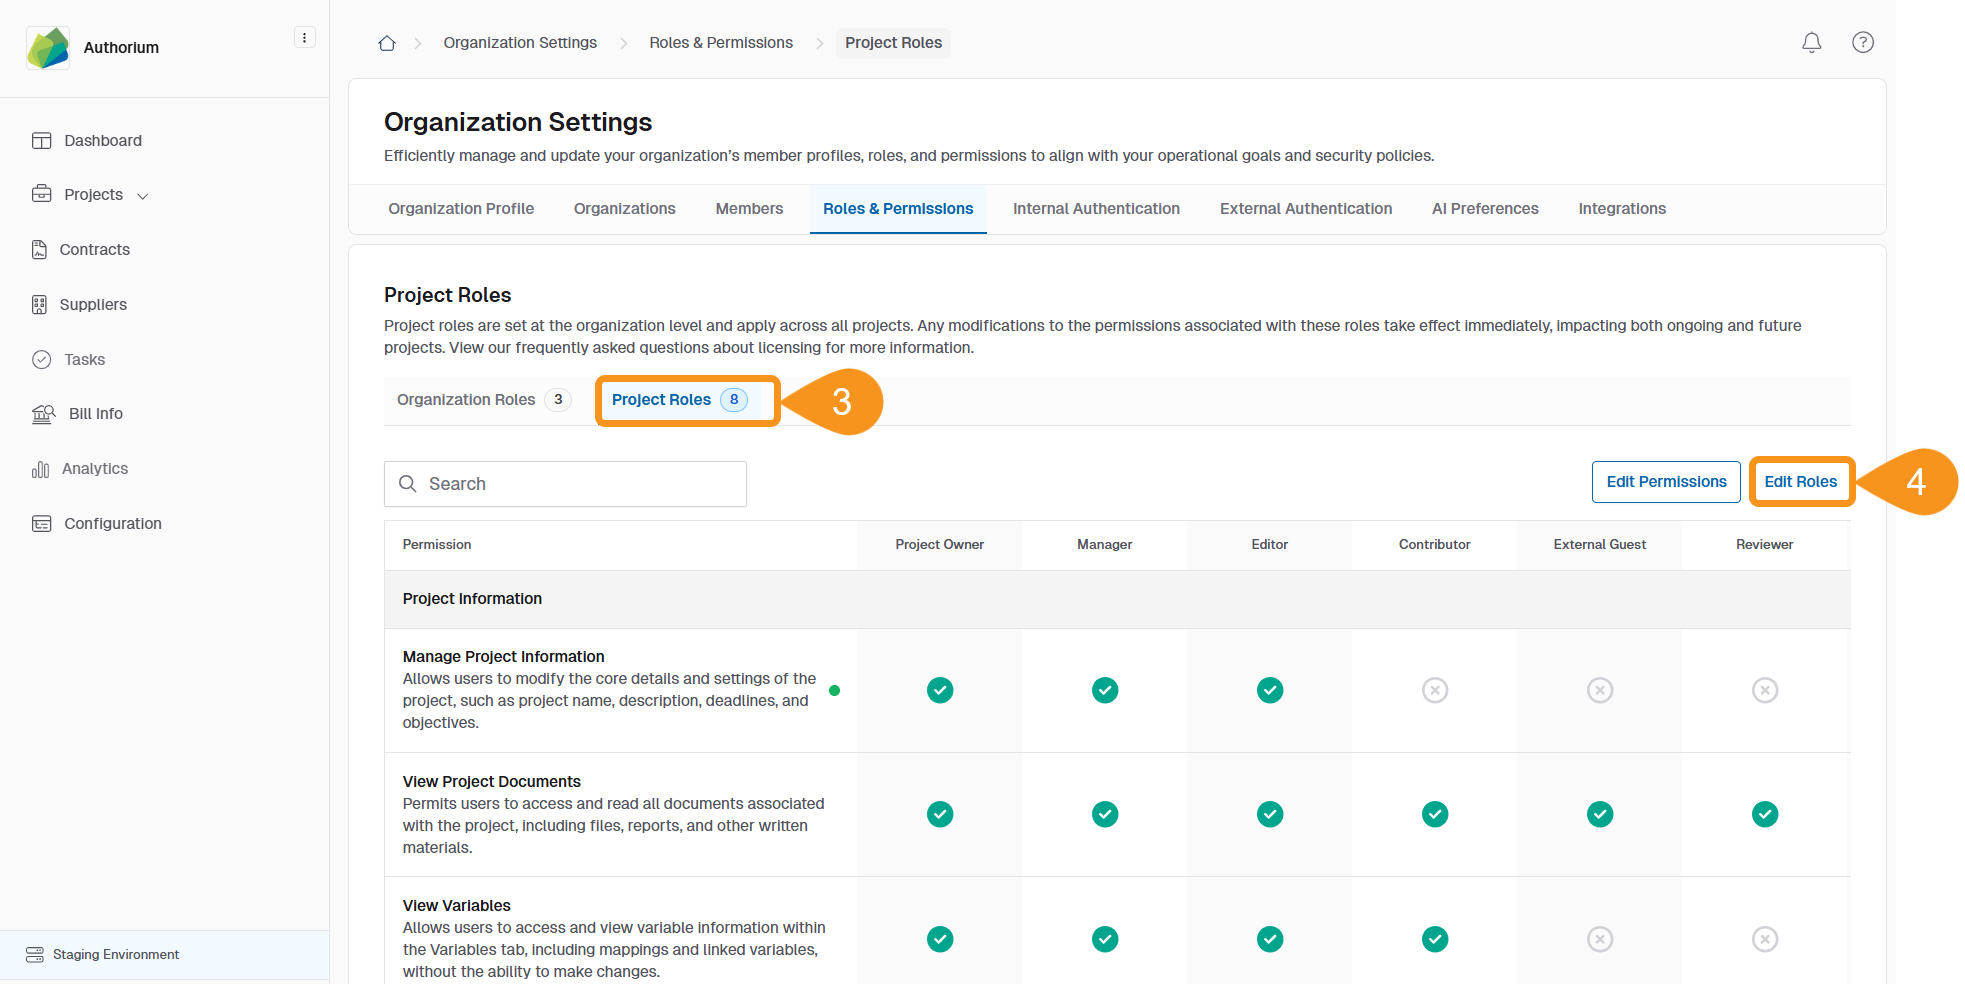
- Open the Project Roles tab.
- Click Edit Roles in the top right corner.
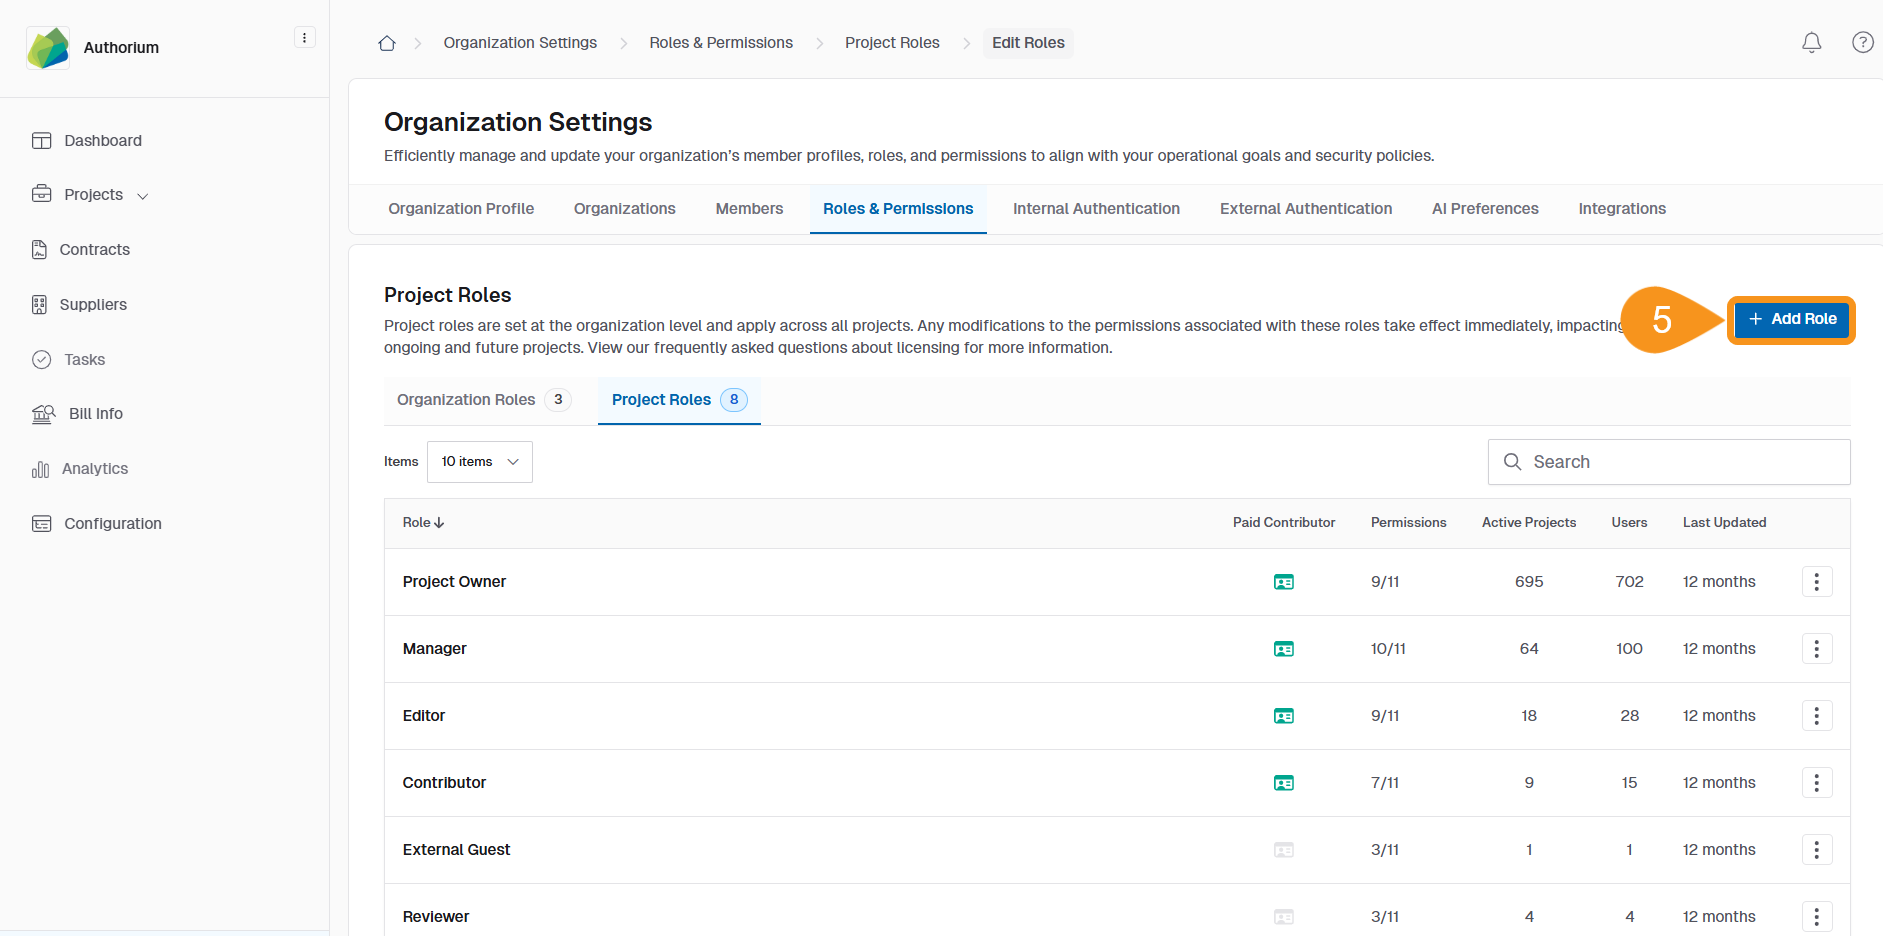
- Click Add Role to create a new project role.
- Enter a Role Name and Description.
- Click Save to create the role.

To Edit an Existing Role
- From the Project Roles list, find the role you want to edit.
- Click the three-dot menu next to the role and select Edit Role Information.
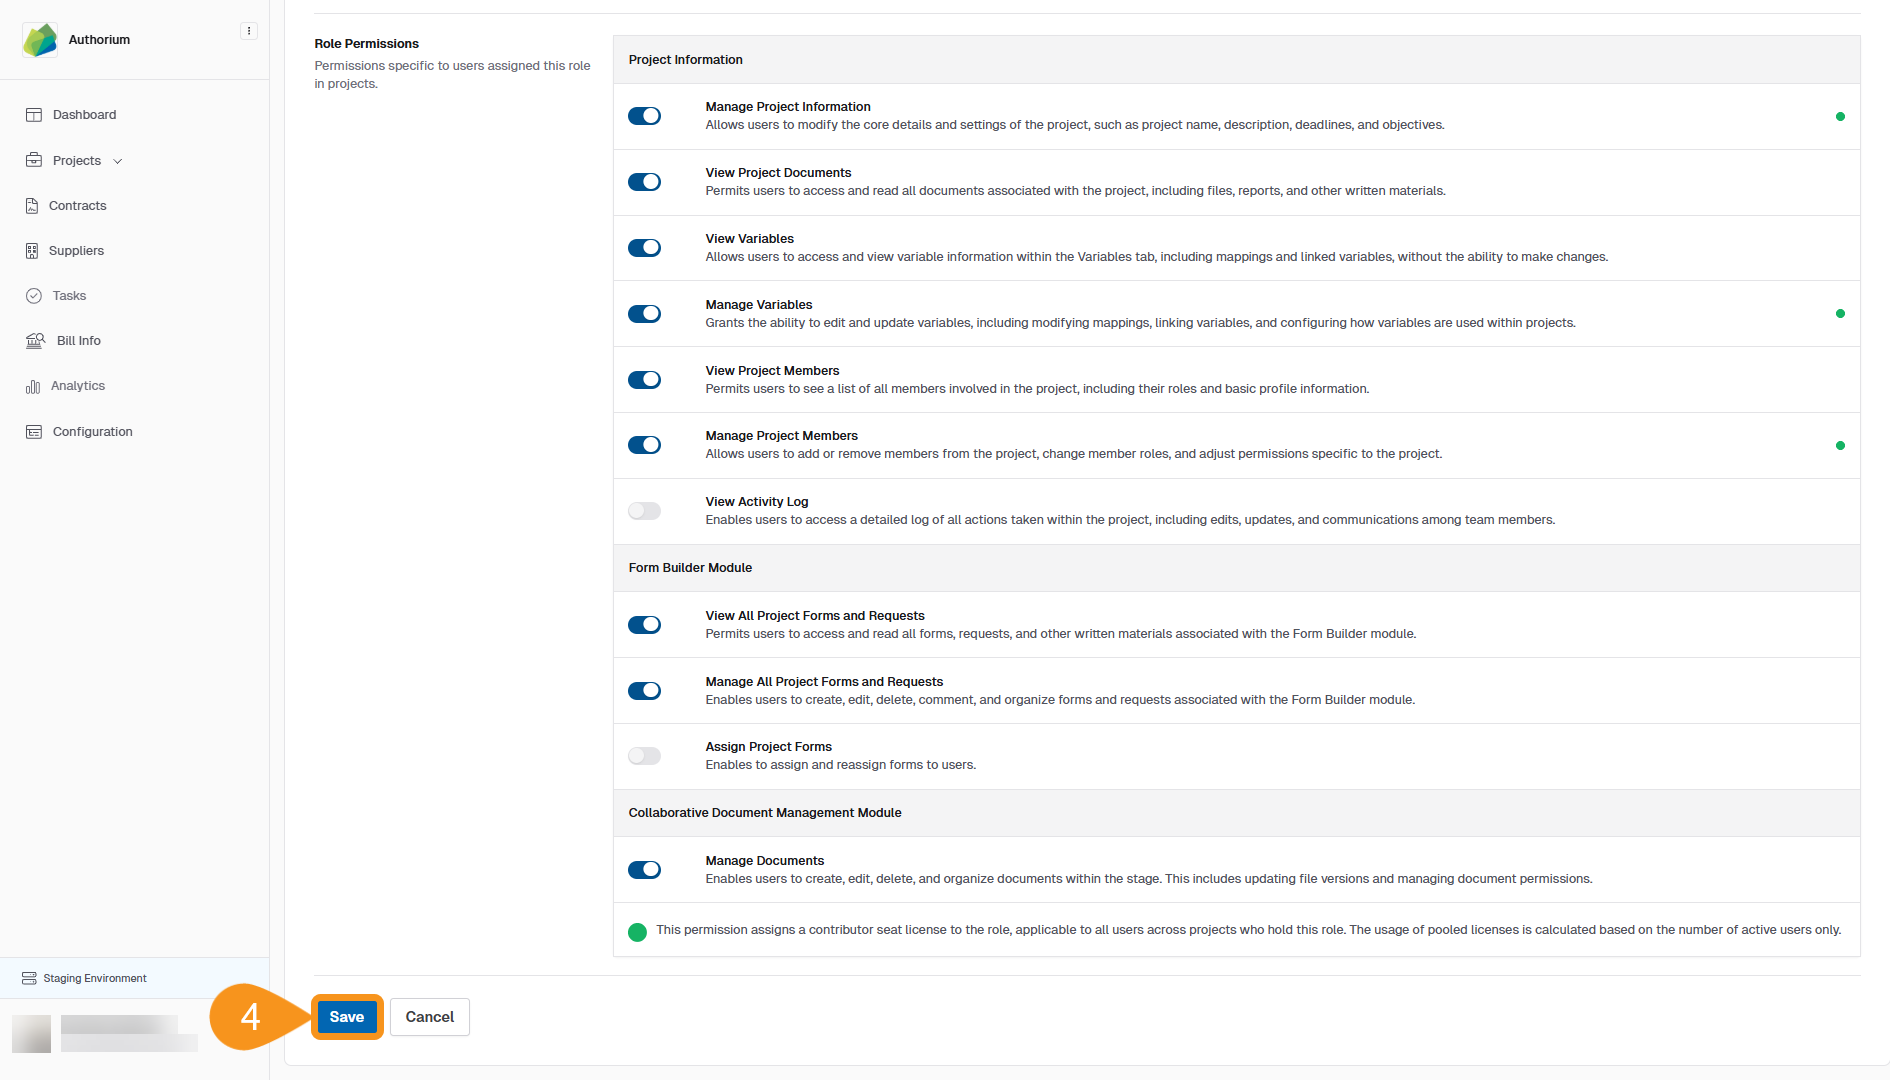
- Update the Name, Description, or adjust Role Permissions as needed.

- Click Save to apply your changes.
Note
These project roles are different from Organization Roles, which are managed separately in the Admin section.
See Also
To complement your knowledge of this process, check the following pages: