Tables
In CDM (Collaborative Document Management), tables allow users to organize and present structured information within document sections. Using the intuitive table tool, users can easily define the number of rows and columns, apply formatting, and manage table properties through a dedicated toolbar. Tables help improve clarity by neatly aligning data points, making information easier to compare, read, and understand.
When to Add Tables to CDM Documents
You should add tables to CDM documents when you need to:
- Present structured data such as schedules, lists, comparison charts, or datasets within a document.
- Organize related information into a clear and readable format, improving document usability.
- Create sections where users can easily scan rows and columns to understand relationships between different pieces of data.
- Support textual content with additional structured visual organization, reducing the need for lengthy explanations.
To Add Tables to CDM Documents
- Open the Document you would like to work with and click the Table Icon in the text editor ribbon.
- Select the number of rows and columns by highlighting and clicking over the dimensions of the table.
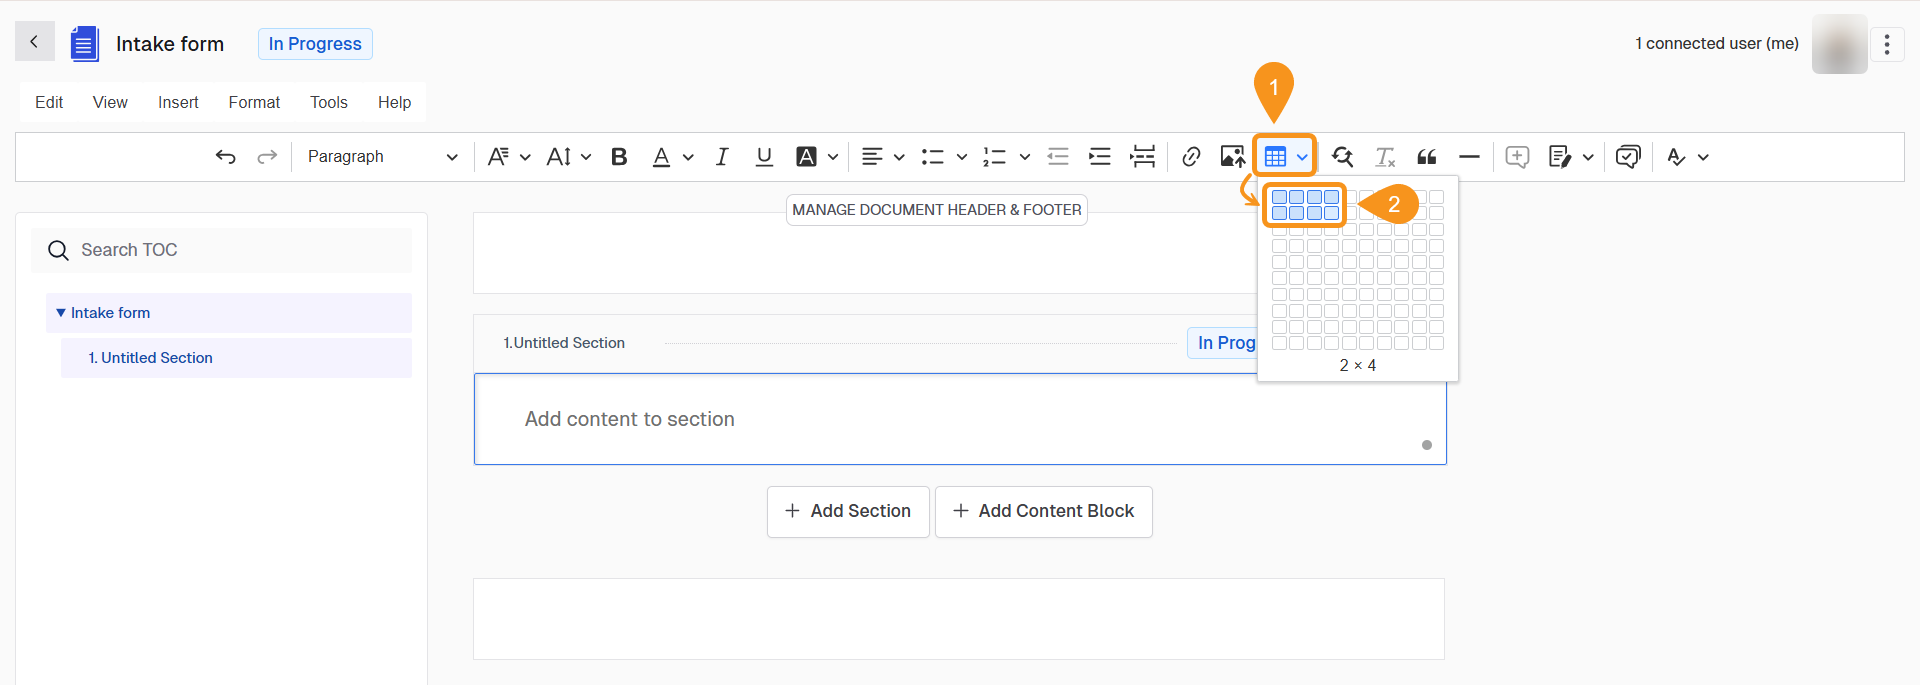
Table Configuration Options
Once you insert a table, you can configure it using the table toolbar. Each button may perform an immediate action or open additional menu options for advanced editing:
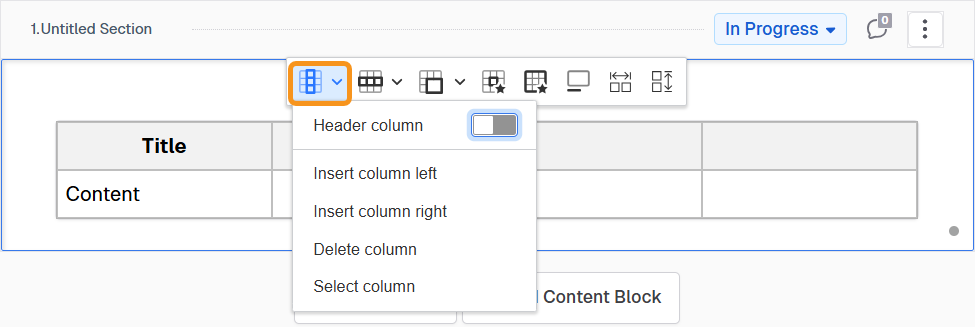
- Column Options
Here, you can:
- Mark the column as a Header Column by toggling the switch.
- Insert a new column to the left or right of the selected column.
- Delete the selected column.
- Select the entire column for further actions.
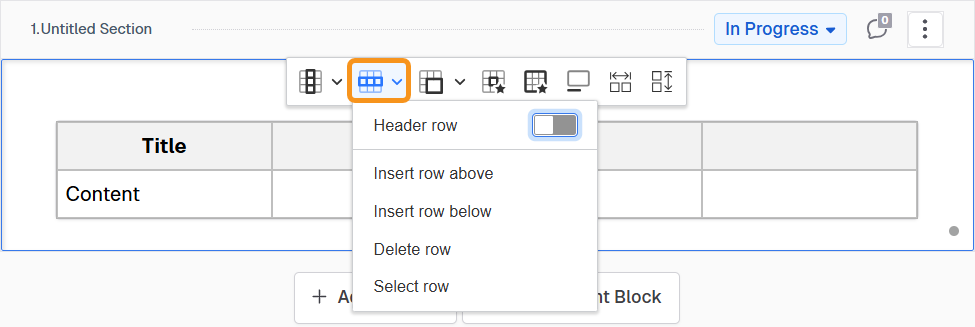
- Row Options
Here you can:
- Mark the row as a Header Row by toggling the switch.
- Insert a new row above or below the current row.
- Delete the selected row.
- Select the entire row for further actions.
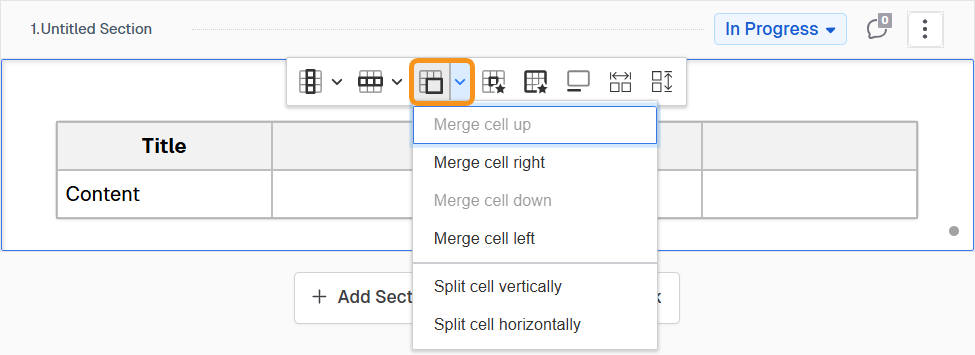
- Merge and Split Cells
Here you can:
- Merge the selected cell with adjacent cells (up, right, down, or left depending on availability).
- Split a merged cell vertically or horizontally.
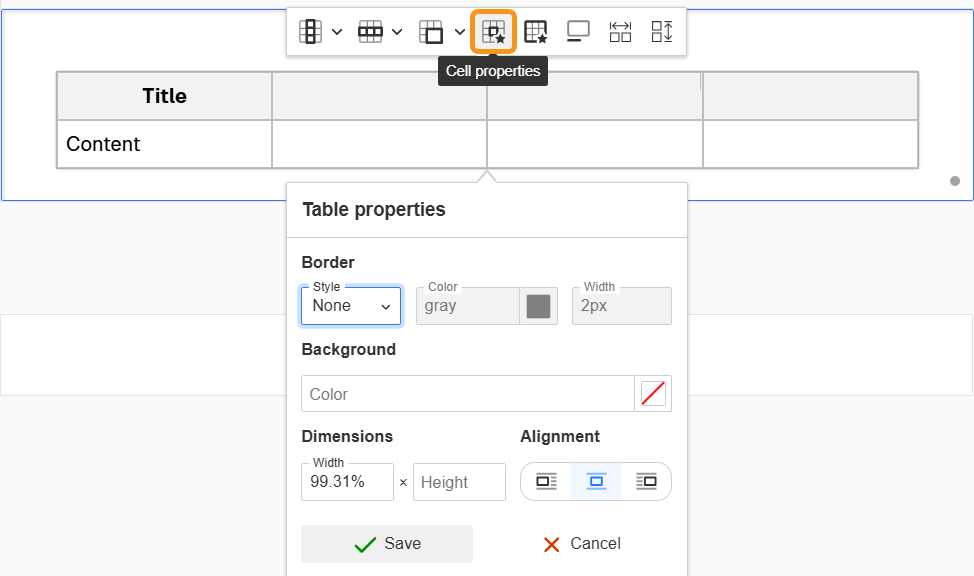
- Table Properties
In this configuration panel, you can:
- Set the table's Border style, color, and width.
- Choose a Background color for the table.
- Adjust Dimensions like Width and Height.
- Align the table (left, center, or right).
- Either save or cancel (disregard) your changes.
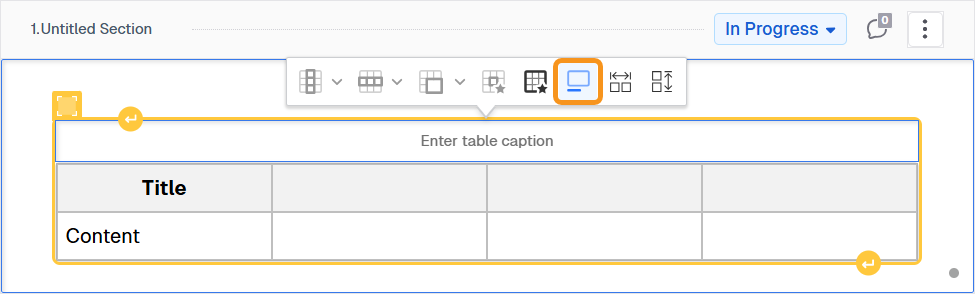
- Table Caption
Use this option to add a title or brief description for the table.
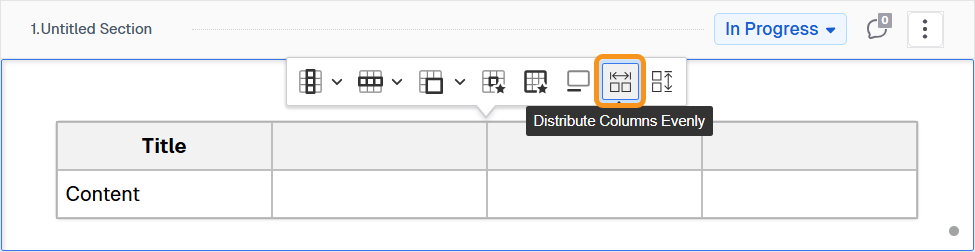
- Distribute Columns Evenly
Click this button to automatically resize all columns so that they have equal width.
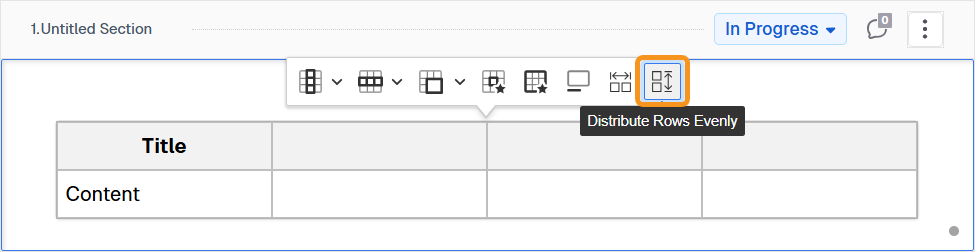
- Distribute Rows Evenly
Click this button to automatically resize all rows so that they have equal height.
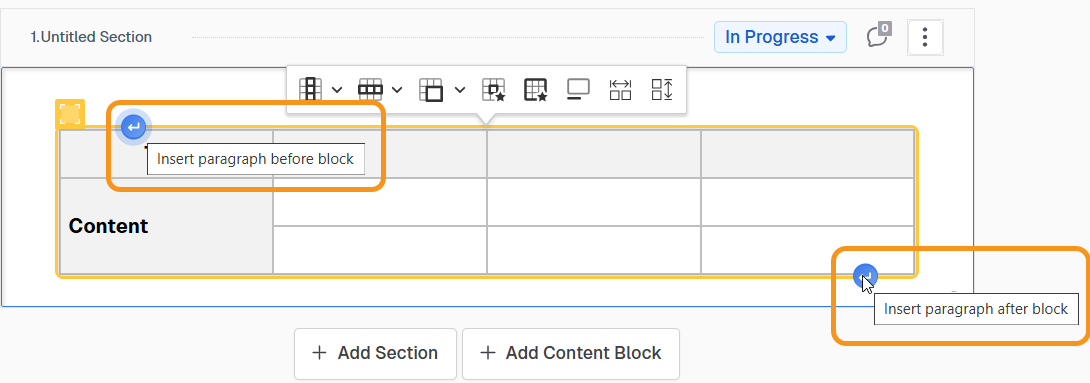
- Insert Paragraph
Apart from these configurations, you can insert a paragraph before or after the table.
See Also
To complement your knowledge, check the following pages: